
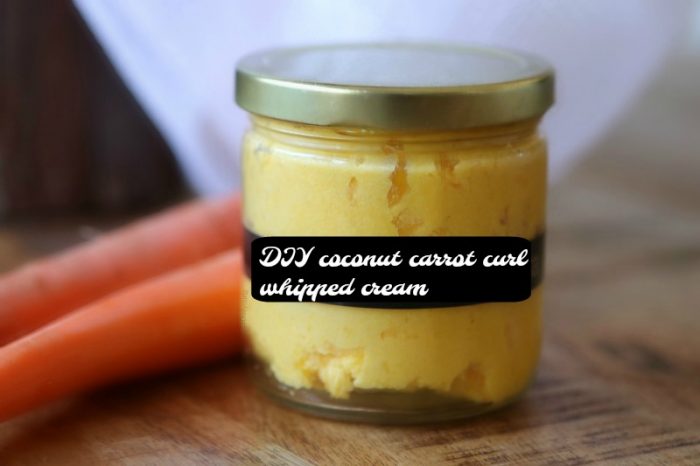
DIY coconut carrot curl whipped cream


DIY coconut carrot curl whipped cream!! Get those crafty hands ready to make this easy and effective hair treatment. You can use it in many, many ways; not only on your hair but also on your skin.
Carrots contain carotene, a chemical that is converted into vitamin A by the body, it can improve the appearance of the skin, hair, and nails. Carrots are also loaded with nutrients and vitamins like Vitamin A, K, C, B6, B1, B3, B2, fiber, potassium, and phosphorous.
For hair, carrots help your hair look shinier and smoother, helps with split ends, hair loss, and protects against external damages like weather, sun, and pollution. Find more recipes HERE.
You only need literally 2 ingredients:
1 cup Coconut oil -your base
2 cups of grated carrots.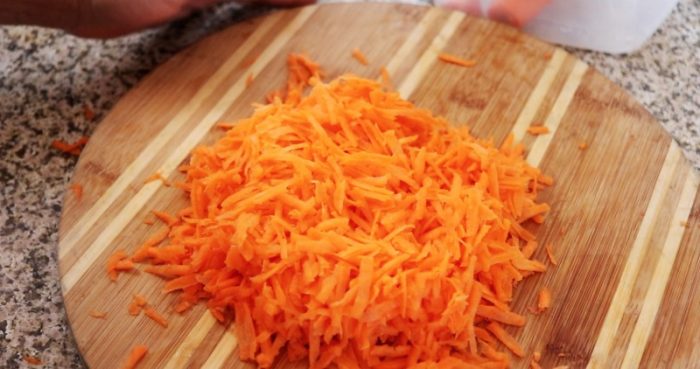
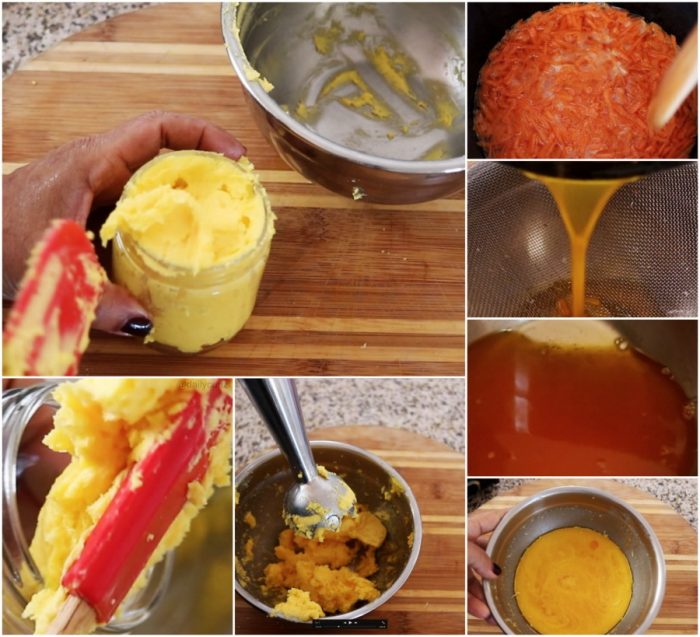
Clean and peel about 3 carrots, this quantity may vary by the size of the carrots. Use a food processor or a grater. Grate the carrots to make about 2 cups. In a pan, add the coconut oil and the carrots, the coconut oil should completely cover the carrots. On a pan, on low heat, leave it covered for 15 minutes, stir it, cover it again, and leave it for another 10 minutes.
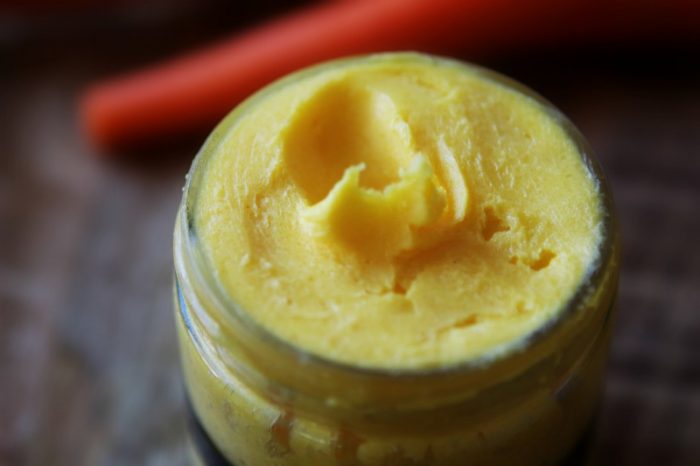
Let it cool and strain. If you like, you can end the process here, but I highly recommend to whip it. Put it in the freezer until hard. Then with a hand blender, blend/whip until smooth. You will notice a little bit of water at the bottom, you can leave it there, this will help you achieve a very smooth consistency.
Store it in a jar and add a cute label, I am using a Brother P-Touch PT-D210 Label Maker so I label all my DIY creations to avoid mistakes with my family at home. 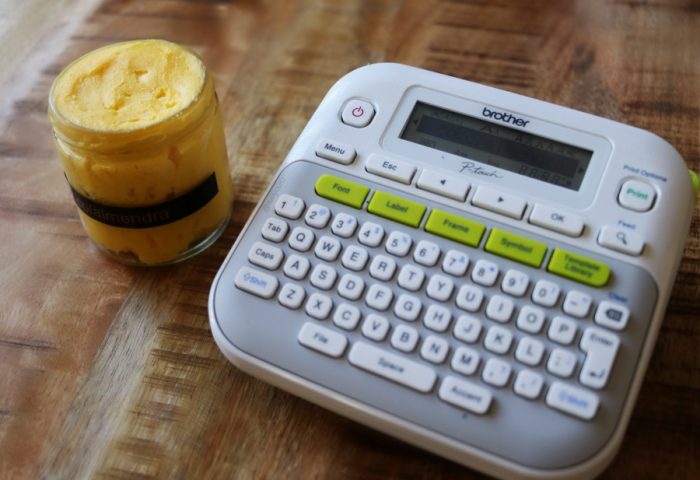
You can use this cream in many ways:
- Soften elbows and knees.
- To repair split ends.
- To moisturize the hair.
- For hair growth.
- To style your hair.
- To moisturize and grow your nails.
- For dry skin.
What is the shelf-life of this recipe?